How to Regrip a Bat & Buy Batting Gloves
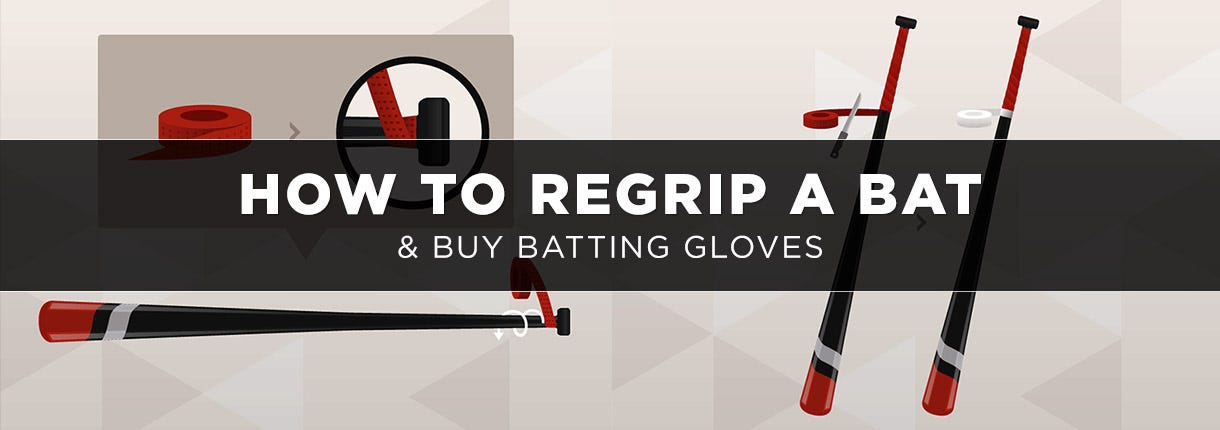
How many times have you seen a professional baseball or softball player take a big cut and lose his/her bat into the stands? It’s not that uncommon, and the simple fact that it happens to even professionals should make the importance of a bat grip or batting gloves even more obvious. Wrapping a bat is a relatively easy process that anyone can complete. In order to ensure you have the ultimate grip, read on to discover more about:
- Bat wraps - how to wrap and re-grip your bat
- Pine tar - what it does and how do you apply it
- Batting gloves - how to measure
Bat Wraps - What are they for?
The main reasons why you want to apply bat wraps to your bat are: to improve both your grip on the bat and the control you have during your swing. When you get your new bat, you’ll notice that it often comes equipped with a thicker wrap already, but some players prefer to have a thinner wrap - the ultimate goal here is they’ll be quicker at getting their bat through the strike zone. There are some companies that have adapted to this and have started to use thinner wraps, but it’s not the standard. There are also those players who prefer a thicker wrap to absorb more of the shock or sting to their hands when contact is made. Bat grip is a matter of style and preference - one way isn’t “right.”
Now that you know why some players prefer a thin wrap and others prefer a thick wrap, let’s look at how to tape a bat.
How to Re-Grip a Bat
Before you begin the process, you’ll want to decide how thick you want your wrap to be. Wraps come in three standard sizes: 0.5 mm, 1.1 mm, and 1.8 mm. Once you decide which size you want, you’re ready to learn how to regrip a bat. You’ll need the following tools to complete your wrapping process:
- Bat
- Bat Tape
- Knife or Box Cutters
- Electrical Tape
You should read the instructions that come with the package, but for the most part, they’ll be similar to what we discuss below:
- If your bat has a wrap on the handle already, remove it by lifting the tape closest to barrel and unwinding it.
- Remove your new wrap from the packaging and start by peeling the backing from the wrap.
- The ends of the wrap should already be pre-cut at an angle. Start at the handle of the bat and begin by taping the angled edge against the knob on the handle.
- Apply tension to the tape and slowly begin to wrap the tape around the handle.
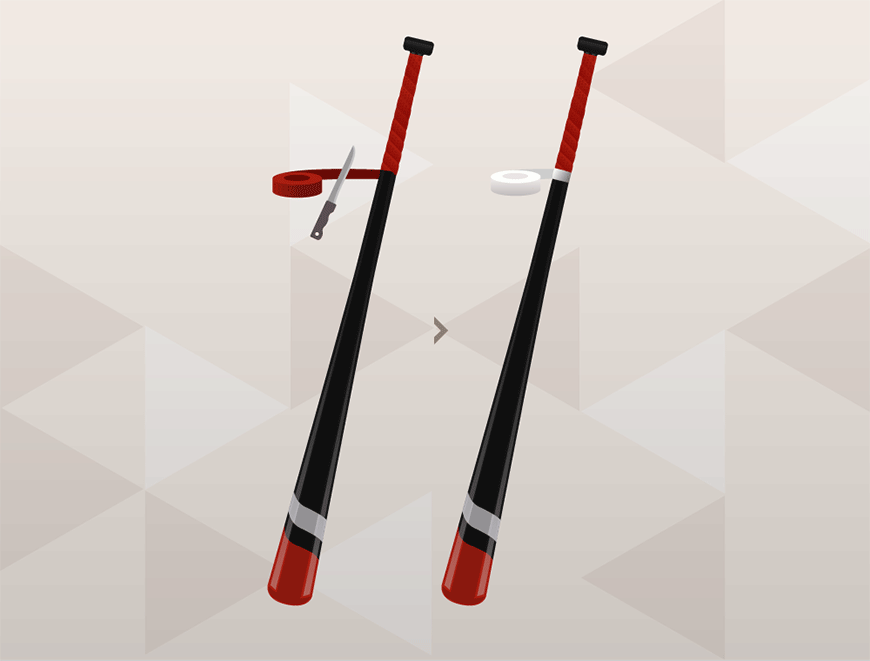
- Continue wrapping the tape around the handle until it has covered the amount of the bat you desire. If there is any tape remaining, take your knife and cut the excess.
- Using your electrical tape, secure the end of the wrap closest to the barrel.
- Some new wraps come with a sticker. If your wrap came with this, apply it to the top of the electrical tape and your bat will have a fresh new wrap.
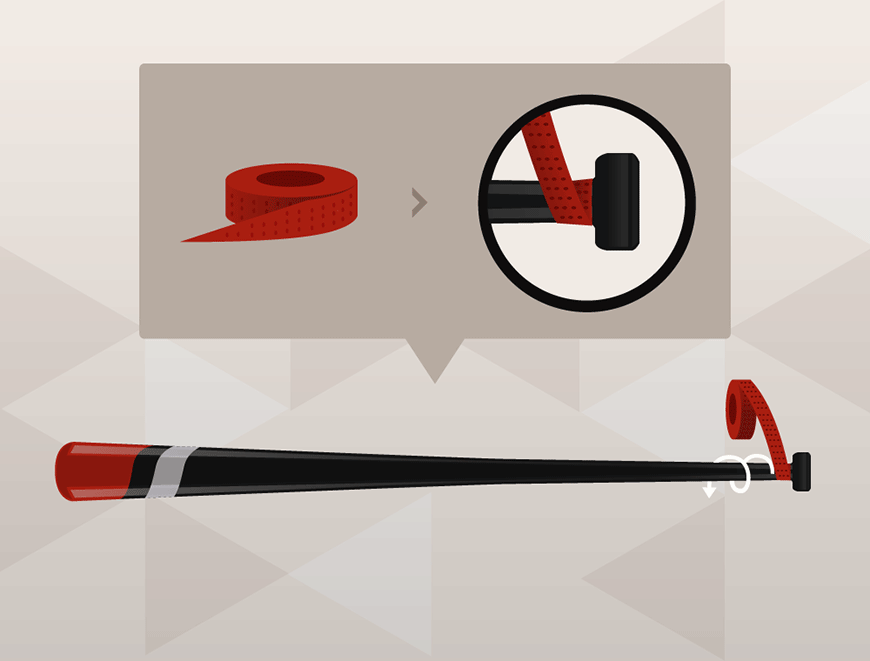
Tip: use the design or perforations of the tape as a guide so you can evenly apply the tape to the handle:

Pine Tar - What Does it Do?
If you’ve ever watched a baseball game on TV, you’ve probably seen the players in the on-deck circle rubbing something onto the handle of their bat. Some players have a bunch of gunk on their helmets and a stain on the back of their shoulder. What you’re looking at is pine tar. Traditionally, pine tar is applied only to wood bats - there are different ways you can apply it. The two main ways you would use pine tar are by using either:
- Pine tar sticks
- Special rags
Is pine tar illegal in baseball?
You’ll want to check with league officials before you use any pine tar for bats you plan on swinging in games, since it’s illegal in some leagues and legal in others. If it’s legal, be sure to check regulations on how high the pine tar can go up your bat, as many baseball fans will remember the George Brett incident in 1983.
How to Apply Pine Tar to Your Bat
The old adage a little goes a long way has never been truer than it is with pine tar. Regardless of whether you use the pine tar stick or liquid and a rag, you’re only going to need a very small amount.
Applying pine tar to your bat is rather simple. You will only need:
- Bat
- Pine tar stick (or container of liquid pine tar)
- Application rag (if using liquid pine tar)
- Duct tape
- Rosin bag
You can find many of these items in our Bat Accessories section of our online store. Or, you can create a pine tar rag yourself at home without having to pay a premium price. Follow these steps to create your own rag:
- Use a flat and clean cloth rag and cut into a 9x9 inch square. Avoid terry-cloth towels.
- Cut the duct tape into 11 inch strips. Cover one side completely, keeping 1 inch on either side to overhang on the front of the rag. This will allow you to apply pine tar to your bat and not get any on your hands.
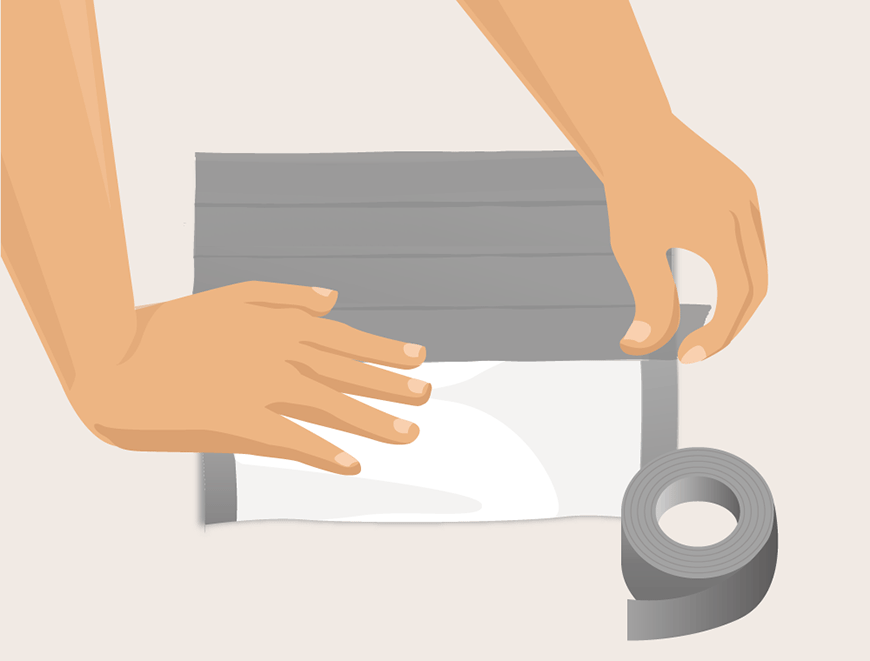
Now that you have your rag, you’ll want to properly apply the pine tar to your bat. Follow these steps to ensure you are doing this correctly:
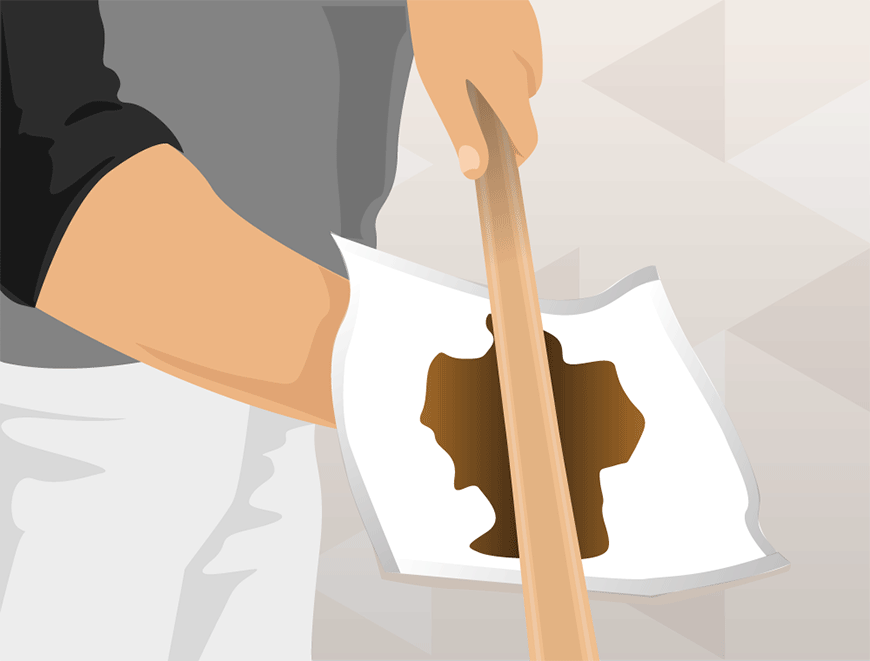
- Take your rag or pine tar stick and apply to the area of the bat on your handle that you want. Make sure you check with your league to see how far up you can apply the tar.
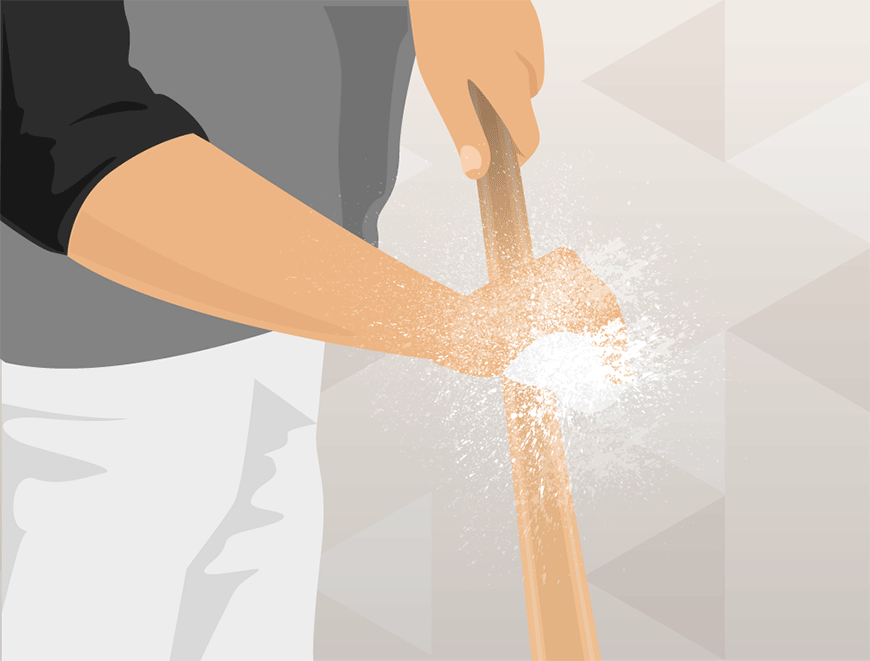
- The handle will be sticky, so use a rosin bag to make it more “grippy.”
Importance of Batting Gloves
If you’ve ever wondered exactly why you need batting gloves, you’re not alone. Many players don’t understand just how essential it is to find batting gloves that fit properly, which will give you more grip during your swing. Batting gloves also help reduce shock and sting when making contact. You want to have a batting glove that fits properly and should use a batting glove size chart to find the right size for a perfect fit.
How to Measure For Batting Gloves
Before you look at the size chart, you should know how to size batting gloves. You can do this by measuring from the base of your palm to the tip of your middle finger. Take this number and use the batting glove size chart below to find the right sized glove:
| Size | Men's | Women's | Youth |
|---|---|---|---|
| X-Small | 6 3/4" - 7" | 5 3/4" - 6 1/4" | 5 1/2" - 5 3/4" |
| Small | 7" - 7 1/4" | 6 1/4" - 6 1/2" | 5 3/4" - 6" |
| Medium | 7 1/4" - 7 1/2" | 6 1/2" - 6 3/4" | 6" - 6 1/4" |
| Large | 7 1/2" - 7 3/4" | 6 3/4" - 7" | 6 1/4" - 6 1/2" |
| X-Large | 7 3/4" - 8" | 7" - 7 1/4" | N/A |
| XX-Large | 8" - 8 1/4" | N/A | N/A |
| Please note that this size chart is just for reference. It does not guarantee a perfect fit and can differ from individual manufacturers’ sizing charts. | |||
That's a wrap! You'll be swinging for the fences in no time. Be sure to check out our other guides and our wide selection of bats. Don't forget to share this guide with your friends!
This article was originally published on June 30, 2015, and has been updated with new information.


Login and Registration Form
or
Create an account